


Table of Contents
Introduction
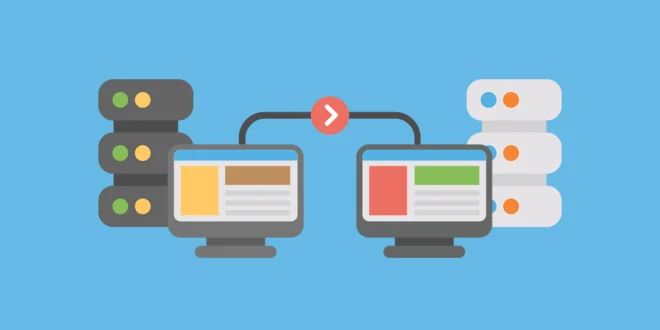
Migrating a website from one hosting provider to another can seem like a daunting task, especially if you’re concerned about potential downtime, data loss, or technical complications. However, with the right approach, you can make this transition smoothly and efficiently, ensuring your website continues to operate without a hitch. Whether you’re moving to a new host for better performance, more features, or simply to save on costs, this guide will walk you through the essential steps to ensure a successful migration. From backing up your data to updating DNS settings, you’ll find everything you need to know to carry out the process with confidence.
How to migrate website content form one hosting service to another hosting
Migrating a website from one hosting service to another involves careful planning and execution to ensure minimal downtime and data loss. Below is a step-by-step guide to help you through the process:

1. Pre-Migration Preparation
- Review Your Current Hosting Environment: Document the details of your current hosting environment, including server type (Linux/Windows), control panel (cPanel, Plesk, etc.), database versions, and any specific configurations.
- Choose the New Hosting Provider: Select a new hosting provider that meets your requirements, including disk space, bandwidth, database support, and control panel features.
- Back Up Your Website: Create a full backup of your website, including files, databases, emails, and any custom configurations.
- Files: Use FTP or File Manager to download all website files from the public_html or www directory.
- Databases: Export your databases using phpMyAdmin or a similar tool.
2. Set Up the New Hosting Environment
- Register or Transfer Your Domain: If your domain is registered with your old host, decide whether to transfer it to the new hosting provider or keep it where it is.
- Set Up the New Hosting Account: Log in to your new hosting provider and set up your hosting environment. This typically involves:
- Creating a new cPanel or control panel account.
- Setting up your website’s root directory (usually public_html).
- Creating a new database if required.
- Upload Website Files: Use FTP or File Manager to upload your website files from the backup to the new hosting server’s root directory.
- Import Databases:
- Create a New Database: In your new hosting control panel, create a new database and database user.
- Import the Database: Use phpMyAdmin or a similar tool to import your database backup to the new server.
3. Update Configuration Files
- Update Database Connection Settings: If your website relies on a database, update the configuration files (like
wp-config.phpfor WordPress) with the new database credentials (database name, username, password, and host). - Check for Hard-Coded URLs: If your website uses absolute URLs, make sure to update them to reflect the new hosting environment.
4. Testing the New Environment
- Edit Hosts File for Preview: Before updating DNS, you can preview your site on the new server by editing your local computer’s hosts file. This way, you can test the site without changing DNS settings.
- On Windows:
C:\Windows\System32\drivers\etc\hosts - On macOS/Linux:
/etc/hosts
- On Windows:
- Test the Website: Ensure that all pages, forms, scripts, and functionalities work as expected. Check database connections, file uploads, and other dynamic content.
- Check Email Configuration: If your email is hosted with your website, ensure that email settings are correctly configured on the new server.
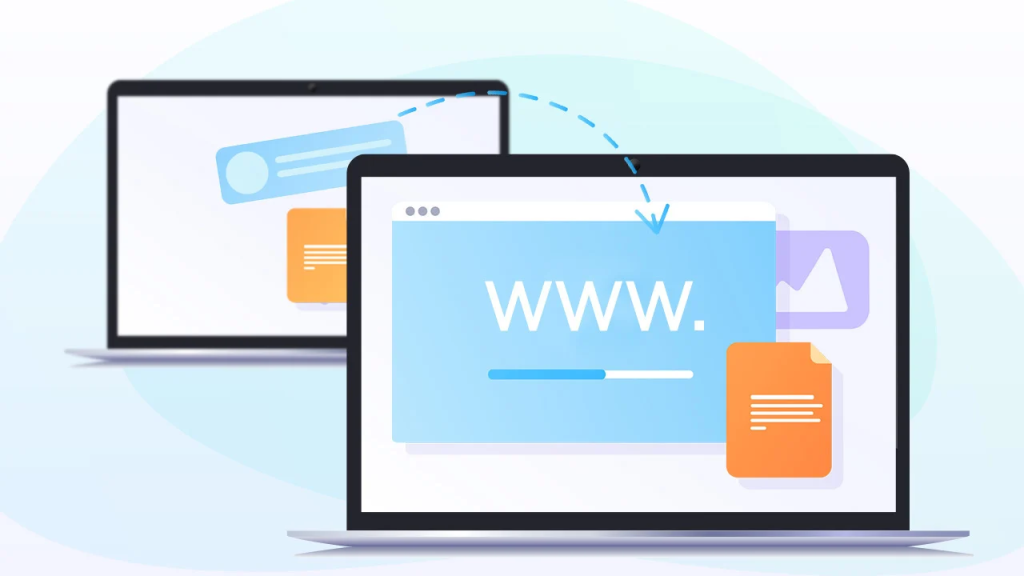
5. DNS and Domain Migration
- Update DNS Settings: Once you’re satisfied that the website is functioning correctly on the new server, update your domain’s DNS settings to point to the new hosting provider’s nameservers.
- Monitor DNS Propagation: DNS changes can take up to 48 hours to propagate. During this time, your website may resolve to either the old or new server.
6. Final Steps
- Monitor the Website: Keep an eye on your website for any issues that might arise after the DNS changes. Monitor traffic, server load, and any error logs.
- Decommission the Old Hosting Account: Once you’re confident that the migration is successful and DNS propagation is complete, you can cancel your old hosting account. Ensure all data is backed up before doing so.
- Update Your Backup Plan: Set up a new backup strategy on your new hosting environment to ensure regular backups are taken.
7. Post-Migration Tasks
- Update Links and References: If there were any changes in URLs, update internal links, sitemap, and references to old URLs.
- Submit Sitemap to Search Engines: If your website’s structure or URLs have changed, submit the updated sitemap to search engines like Google and Bing.
- Notify Users: If the migration caused any downtime or changes that affect users, communicate this to your audience.
8. Review and Optimize
- Analyze Performance: Use tools like Google PageSpeed Insights or GTmetrix to ensure the new server is performing well.
- Secure the New Environment: Implement security best practices, such as updating all software, setting up SSL certificates, and configuring firewalls.
This guide should help you successfully migrate your website to a new hosting service with minimal disruption.
Conclusion
Migrating your website to a new hosting provider doesn’t have to be a stressful experience. By following the steps outlined in this guide, you can minimize the risk of downtime and ensure that your site remains fully operational throughout the transition. Remember to back up all your data, carefully test the new environment, and monitor the website after the DNS changes have propagated. With careful planning and execution, you can move your site to a new host smoothly and enjoy the benefits of your new hosting environment. Whether you’re upgrading to a faster server, adding more features, or simply finding a better deal, the key to a successful migration is preparation and attention to detail.
I have realized that online education is getting well-known because attaining your degree online has changed into a popular method for many people. Many people have not had a possibility to attend a traditional college or university although seek the elevated earning possibilities and career advancement that a Bachelor’s Degree offers. Still other folks might have a qualification in one field but wish to pursue anything they now possess an interest in.
I think this is among the most significant information for me. And i am glad reading your article. But should remark on some general things, The web site style is ideal, the articles is really excellent : D. Good job, cheers
Your articles are extremely helpful to me. Please provide more information!
You helped me a lot with this post. http://www.hairstylesvip.com I love the subject and I hope you continue to write excellent articles like this.
May I request more information on the subject? http://www.hairstylesvip.com All of your articles are extremely useful to me. Thank you!